Creating A Page
Within two days or sooner, everyone is supposed to be able to make pages by using the Create A Page tool. Availability is rolling out now, so if you get a “Google+ Pages isn’t ready” error, keep checking back. (NOTE: Google now says everyone should have access).
Assuming you do have access, I’ll start with what you see when making a page for the “Product or Brand” category, though the steps work the same for any category of page other than local (more on that below).
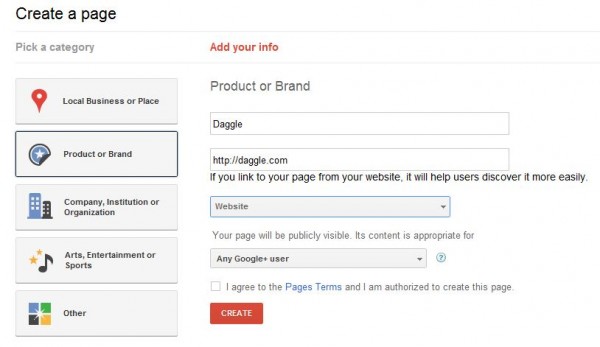
Once you begin, you get the simple form back:
You enter the name you want for your Google+ page, the URL you want to associate that page with on an external website (this is optional), a category for your page (a range from Aerospace to Travel is offered), along with who your content is appropriate for (anyone, 18+, 21+ and alcohol-related).
Hit the Create button, and you’ll get a new page where you can add:
- 10-word tag line to describe your page
- Profile photo for your page
You can actually go longer than 10 words. Nothing prevents this. It’s really that if you go long, not everything will show.
After you did, hit save, and you’re done.
Local Business Or Place
Local businesses get special listings, and it all starts after you choose the “Local” option by entering a phone number.
Google+ is very picky, insisting the number be entered with a + before your country code (in the US, this means +1), followed by the phone number separated by dashes.
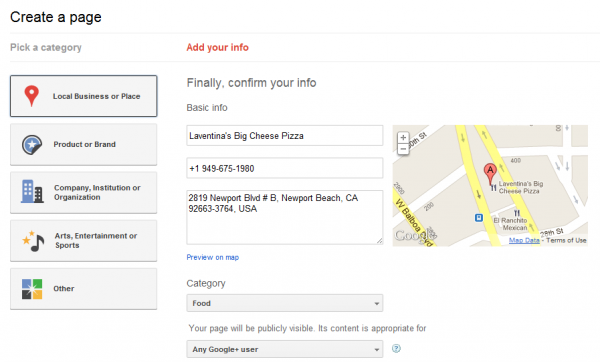
To test, I entered the number of a local pizza place. That brought up an existing listing from Google Places:
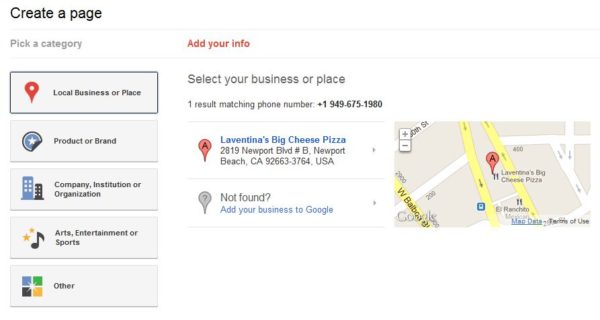 If this wasn’t correct, or if my business wasn’t listed, I could have selected another option. But since it is, clicking on it automatically fills in some of the information needed for Google Plus:
You’re unable to move the map marker if that’s incorrect. You can change the address, however, which in turn moves the marker. There are also options to pick your category of business (Food, Lodging, Storage, and more are listed) and select who your content is appropriate for (anyone, 18+, 21+, and alcohol-related).
Pimping Your Page
Now that your page is created, you can pimp it out with more information, if you want. Here’s the basic page that I made for my personal blog, Daggle:
 The first arrow points at the page title, the second at the tag line. The third points at additional ways I could update my page, through the About area. When logged in, I see this:
Below, you can see that I’ve added a link from the Google+ page back to my actual blog, plus I’ve added a little intro text:
Posting As Your Page
Once you’ve made your page, you’ll also likely find that Google is showing you a notice that you’re now on Google+ as if you’re the page yourself. Here’s how it looks:
In other words, any action you take will be coming from the page you’ve made. That’s how you begin to update your page’s content with photos or videos.
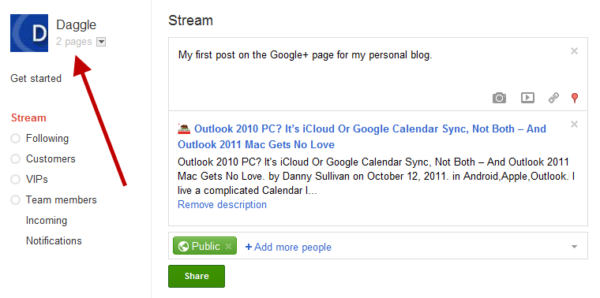
For instance, here I’m logged in, about to share a post from my blog through the blog’s page on Google Plus:
Once I hit share, that post went out to my page — and in turn, went out to anyone who follows the page.
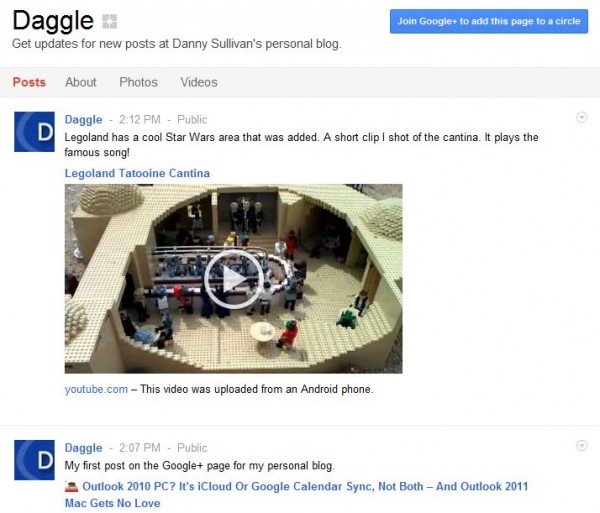
Similarly, I could add photos or videos. One nice thing is that you can easily enter the URL of any YouTube video you might have so that you add that video to your page without having to upload it:
Managing Your Pages
It’s perfectly acceptable for you to have multiple pages. If you’re a business with several popular products, you might want pages for both the business and the products.
Google itself does this, with a page for Gmail existing separately from Google.
You could also do pages for particular events, though right now, there’s no event-specific type of support, as you’d find with Facebook, such as designating a particular date.
To get to manage all your pages, look up at whatever profile picture is shown in the top left corner, then click on the drop-down arrow:
The drop-down option (shown with the first arrow) makes a list of all your pages appear so that you can switch while logged in and act as if you are one of them.
At the bottom of the menu, a “Manage your pages” link brings up a list of all your pages:
You can then delete any page you don’t want, which is what I did with that pizza place one I created as part of the testing. Using the Manage button, you can also switch accounts.

